Measure first, then draw
A courtyard plan falls apart fastest when the drawing ignores the site. If you want paving, planters, or seating to work, you need to measure the space, map drainage in small courtyard areas, and mark every fixed object before you choose a single layout line.
That means site dimensions for garden design, yes, but also the things that cause trouble later, drains, inspection covers, door swings, steps, vents, and the way water actually leaves the space after rain.
Start with the ground, not the furniture
The first job is to find out whether the courtyard already drains well enough for the use you want. A space can look flat and still hold water in a shallow dish shape, especially around old paving, concrete slabs, or a patchwork of repairs.
Do a simple rain check if you can. After steady rain, look for:
- puddles that sit longer than 30 to 60 minutes
- dark damp patches against walls or fence lines
- water tracking toward a door threshold
- moss, algae, or white mineral staining near low points
- overflow from a downpipe or AC condensate line
If water hangs around where you want paving or a seating area, the layout needs to respect that. You may need to keep finished surfaces clear of the low point, add drainage, or change the hardscape build-up so the finished level does not trap water against the house.
For a proper garden site survey, note the direction water moves, not just where it pools. In a courtyard, runoff often follows the path of least resistance along a slab edge, under a gate, or toward a stormwater grate. That is the detail that decides whether your plan works.
Key takeaway: If you do not map drainage in small courtyard spaces before you draw the plan, you are designing around a guess, not the site.
Map the fixed points you cannot move
Anything attached to the building or tied to services gets measured first. These are the anchors of the whole layout, and they are the reason a neat sketch on paper can fail in real life.
Mark these on your base plan:
- door thresholds and the direction each door swings
- steps, risers, and changes in level
- inspection covers and sewer or stormwater access lids
- drains, grates, and channel drains
- vents, subfloor grilles, and exhaust outlets
- taps, hose bibs, gas points, meter boxes, and service penetrations
- downpipes and overflow points
- any permanent wall projections, columns, or posts
Measure from fixed reference lines, usually the house wall and one side boundary, so the numbers stay consistent. If you are working from a rough tape measure sketch, note each item’s distance from two edges. That makes it much easier to map garden plan details later without losing the relationship between objects.
This is where people get caught. A planter looks fine until it blocks an inspection cover. A bench fits until it stops a door from opening fully. A paving edge looks tidy until it traps a drain access panel in the middle of the seating zone.
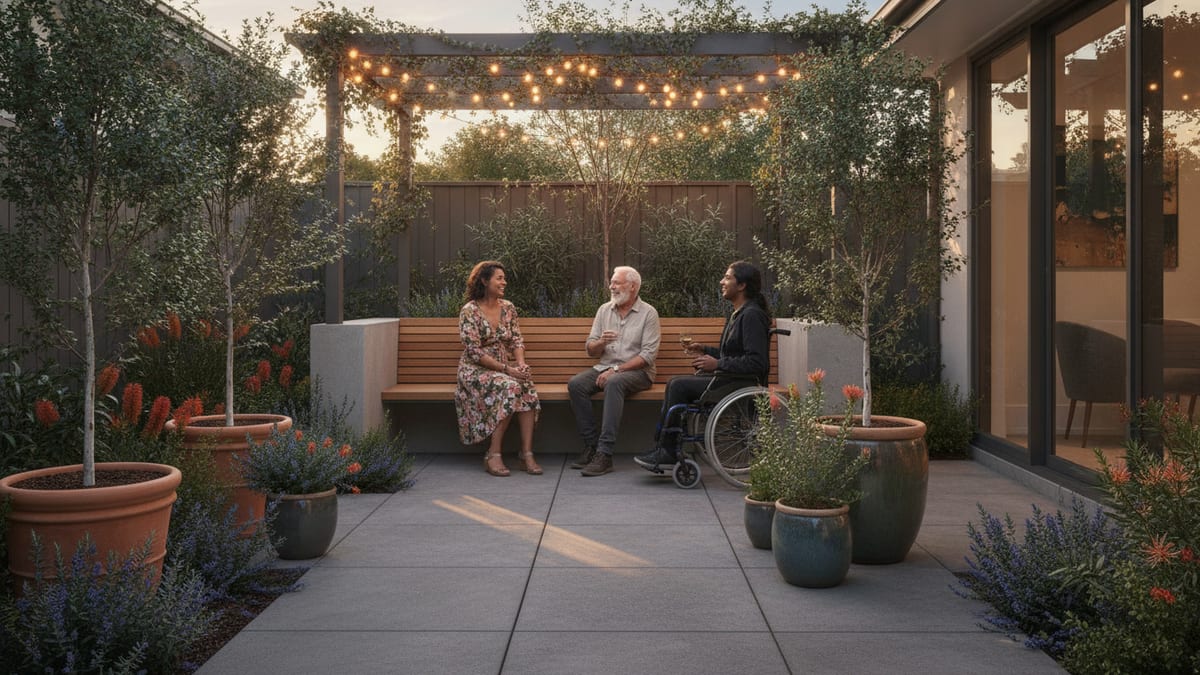
For a tighter layout, the link between fixed points and finished use matters more than symmetry. A good small courtyard, big impact: design moves that work plan starts with the immovable items, then builds around them.
Measure the space the way it will be used
The number on the tape is not enough. Usable clearance is what matters. A courtyard can be 2.4 metres wide and still feel cramped if the door swing, planter depth, and circulation path all compete for the same strip of floor.
Use these practical clearances as a starting point:
| Element | Practical clearance to allow |
|---|---|
| Main walking path | 900 to 1200 mm |
| Secondary path between pots or beds | 600 to 900 mm |
| Door swing zone | Full swing clear, plus 100 to 150 mm buffer |
| Pull-out chair space | 600 to 750 mm behind the chair |
| Narrow side access | 450 to 600 mm minimum, if occasional use only |
| Wall-mounted planter or trellis depth | 150 to 300 mm, depending on fixings |
These are not decorative numbers. They are the difference between a courtyard that feels easy and one that forces sideways shuffling past every object. If the space is very tight, measure before landscaping with the actual furniture or planter footprint in mind, not just the garden bed outline.
A seat that technically fits can still make the courtyard feel blocked if it leaves no comfortable path to the gate or door. The same is true for pots. Tall containers need room to stand without pinching circulation, and they should never sit where a door, bin lid, or hose reel needs to operate.
If you want the layout to stay usable in daily life, draw the movement first. Then place the features into the leftover space.
Work out where slopes and runoff really go
To map drainage in small courtyard areas, you need more than a visual guess. A slight fall may not look obvious, but a level, straightedge, or laser level will show whether the surface drops toward the house, away from it, or into a low pocket.
Check:
- the fall from door threshold to the far edge
- the fall across paving lines, not just along them
- whether water is being funnelled by existing joints or cracks
- where downpipes discharge
- whether the courtyard floor has been patched, re-laid, or built up over time
If you are planning paving, the finished surface should not push water toward internal thresholds. That is a standard risk point in small courtyards and one reason a garden planning checklist should always include drainage before materials.
For planters and raised beds, drainage matters in a second way. Containers need drainage holes and enough separation from walls so water does not wick into masonry or sit against timber fences. If the courtyard already stays damp, raised beds placed too close to a wall can make the problem worse, not better.
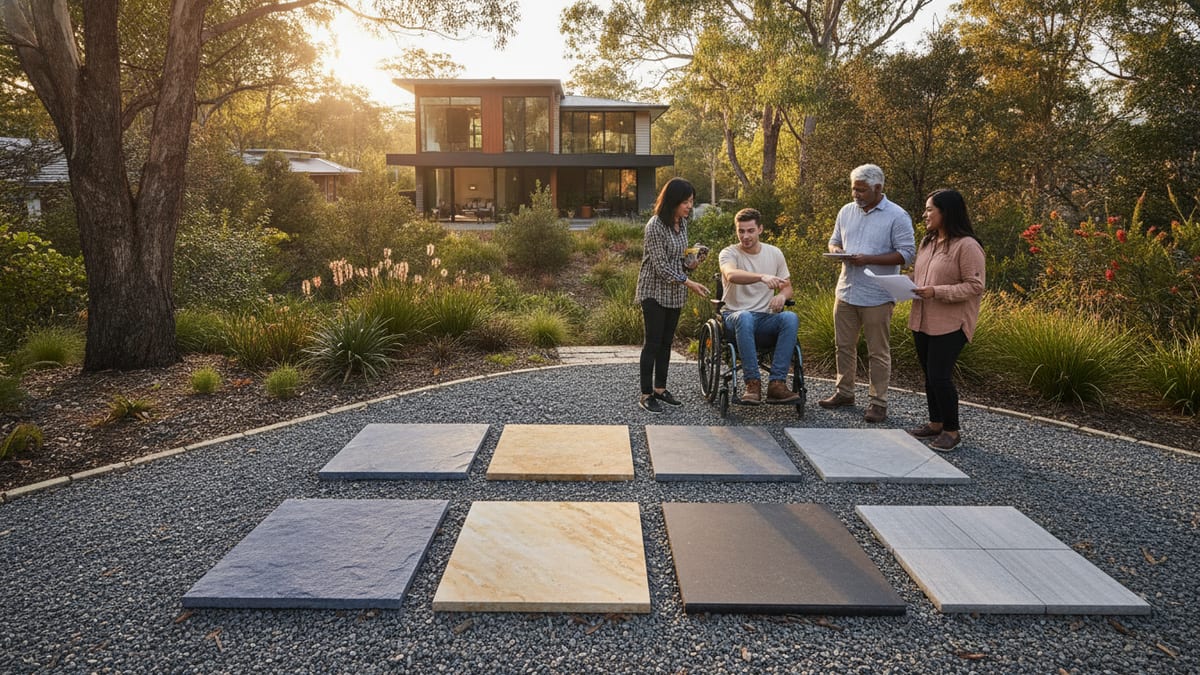
This is also where material choice starts to matter. If you are deciding between solid paving, permeable joints, or loose-set edging, read Choosing pavers: a practical guide for Sydney gardens alongside your measurements. The right surface depends on what the site is already doing with water.
Measure the awkward bits twice
Corners, steps, and service openings are where layouts usually fail, because they are easy to underestimate. A courtyard rarely gives you clean rectangles. It gives you a clipped corner, a pipe chase, a step down to the laundry, or a drain that sits exactly where a planter wanted to go.
Pay special attention to:
- internal and external corner angles
- the exact width of narrowing sections
- step depths and the landing space before and after the step
- the height change between inside floor level and outside paving
- drain cover sizes and the space needed to lift them
- the opening arc of gates and hinged doors
- the clearance needed to remove a screen, cover, or access panel
If a corner is awkward, measure all sides of it, not just the visible front. A sketch that shows one short side and one long side can hide a wedge shape that changes everything about your layout. The same goes for steps. A step is not just a height change, it is a movement constraint and a visual break in the space.
When you map drainage in small courtyard settings, these awkward points often turn out to be the low spots. That is useful because it tells you where water is likely to sit and where a new surface might need a drain, slot channel, or slight level change.
Leave room for the things that need access
A courtyard plan is not finished when everything fits on paper. It is finished when the everyday access still works. That means checking how much clearance you need around walls, fences, and utilities before you choose pots, raised beds, or built-in seating.
Use these rules of thumb:
- leave access to inspection covers fully clear, not “mostly clear”
- keep taps and hose points reachable without moving large pots
- avoid placing fixed seating over service routes
- allow enough space to clean behind planters and check for damp
- leave a gap between timber elements and walls so air can move
That last point matters more than most people think. If a planter or bench is jammed hard against a wall, moisture lingers behind it. On a small site, that can mean staining, mould, or timber decay that shows up months after the nice new layout is installed.
For built-in seating, measure the depth from wall to seat edge, then test whether you can still pass comfortably once cushions or a backrest are added. For raised beds, account for wall thickness, cap width, and the working edge you need to plant, weed, and water. A bed that is too deep can be hard to maintain, especially in a narrow courtyard where you cannot get around both sides.
Turn the measurements into a usable plan
Once the site dimensions for garden design are on paper, draw the non-negotiables first. Start with walls, doors, steps, drains, inspection covers, and runoff direction. Then add the circulation paths, then the larger features, then the soft planting.
A clean garden layout planning sequence looks like this:
- Draw the boundary and building edges to scale.
- Mark all fixed services and access points.
- Add levels, slopes, and drainage flow.
- Plot door swings and step clearances.
- Reserve circulation paths.
- Place seating, planters, and beds.
- Check every item against the access points again.
That last check is the one people skip. It is also the one that saves the most rework. A layout can look balanced and still fail because a gate cannot open fully or a drain cover ends up under a planter.
If you want the plan to hold up in real use, do not trust the sketch until you have walked the space with the measurements marked out on the ground. Tape, chalk, or string lines will show you quickly whether the layout feels generous or cramped.
A short garden planning checklist for courtyards
Before you draw the final plan, confirm these points:
- the courtyard slope and where water exits
- all drains, grates, covers, and access lids
- door swings and threshold heights
- step locations and level changes
- wall, fence, and boundary clearances
- service points, vents, and downpipes
- the width of circulation paths
- the real footprint of pots, beds, and seating
If you can answer those without guessing, you are ready to design. If not, keep measuring. It is cheaper than lifting paving later because a drain was hidden under the wrong feature.
Common questions
How do I know if the courtyard drains well enough for paving?
Look at it after rain and measure the fall with a level or laser level. If water sits near the house, door threshold, or in the middle of the space for more than a short time, you need to map drainage in small courtyard areas before choosing the final surface.
What fixed things should I mark before I draw the plan?
Mark doors, steps, drains, inspection covers, vents, taps, downpipes, and any service access points. These are the objects that can’t be moved later, and they decide where paving, planters, and seating can actually go.
How much space should I leave around doors and walls?
Leave enough room for doors to open fully with a small buffer, and keep a clear walking path of about 900 to 1200 mm where possible. Around walls and fences, leave enough gap for airflow, cleaning, and maintenance, especially if you are using pots or built-in elements.
What matters most in a small courtyard with awkward corners and steps?
Measure the narrowest points, the step heights, the landing space before and after each step, and the opening arc of every door or gate. Those details usually control the whole layout more than the overall square metres.
Next step
Draw a scaled base plan first, even if it is rough. Put every fixed point on it, trace the drainage path, and mark the clear walking routes before you choose materials or furniture.
If you want the layout handled properly from the start, book a site measure and design consult with us. We can map the courtyard, note the drainage and access constraints, and turn the measurements into a plan that fits the space you actually have.